|
Installation
Instructions
4
Simple Steps
|
We
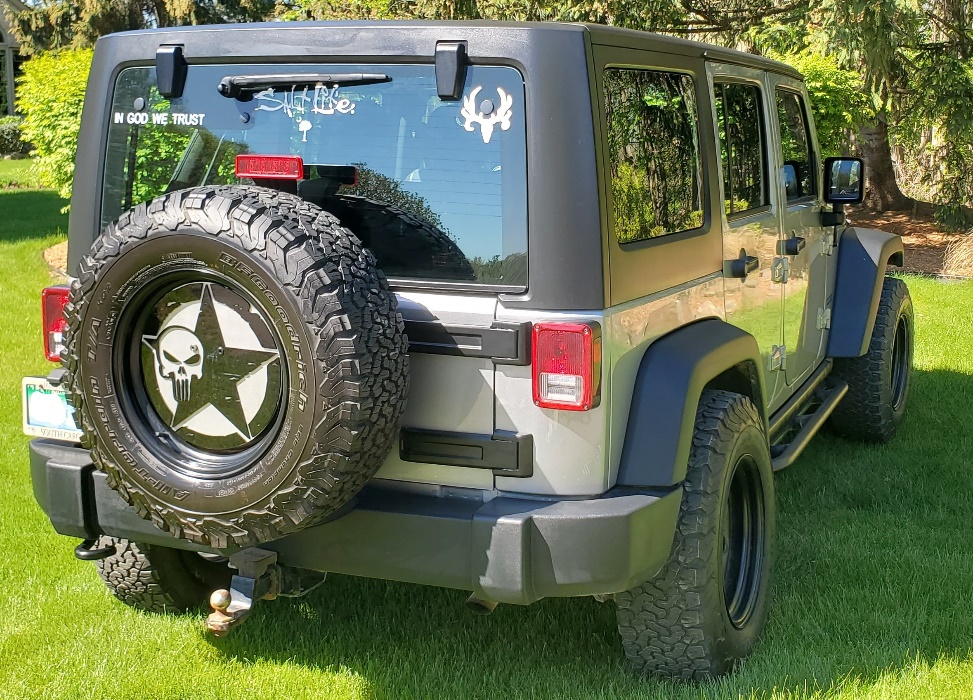
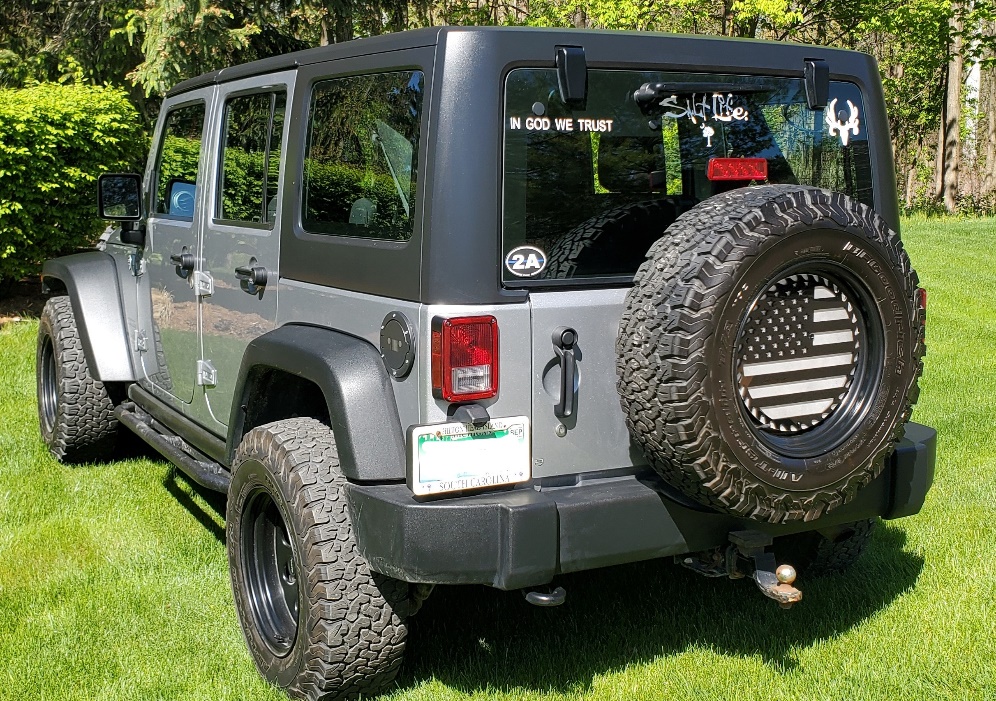
hope you enjoy your Patriot Plate! Please follow the simple steps
below. If you have any issues, you can check out our installation
video on our website at: www.patriotplateusa.com,
or send us an email at: makeit@patriotplateusa.com.
Thank
you for purchasing our Patriot Plate and spread the word!
|
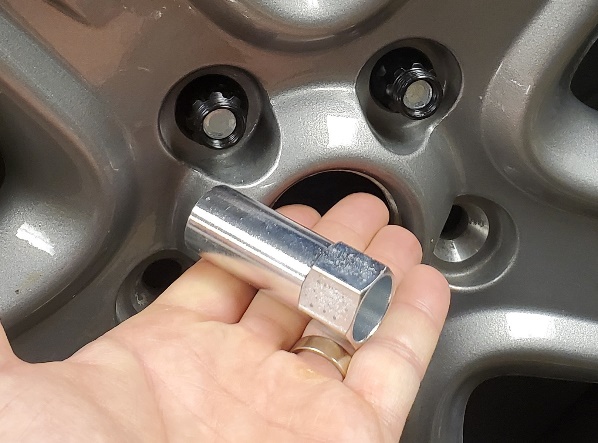
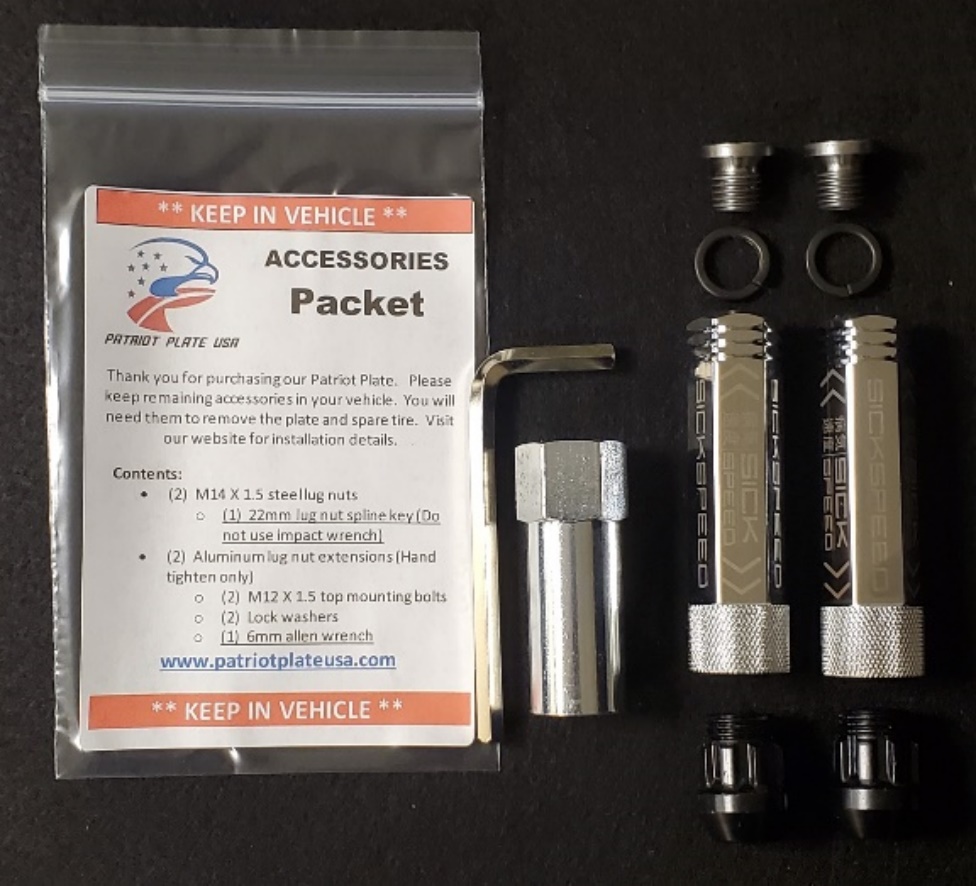
Step 1 – inspect packet:
Take
note of the accessories packet. This packet includes the items
needed to add and remove the Patriot Plate from your spare tire
mount.
(2)
– special spline tooth lug nuts.
(2)
– extended length lug nut adapters
(2)
– plate mount bolts
(2)
– plate bolt lock washers
(1)
– spline key for lug nuts
(1)
– allen wrench
|
|
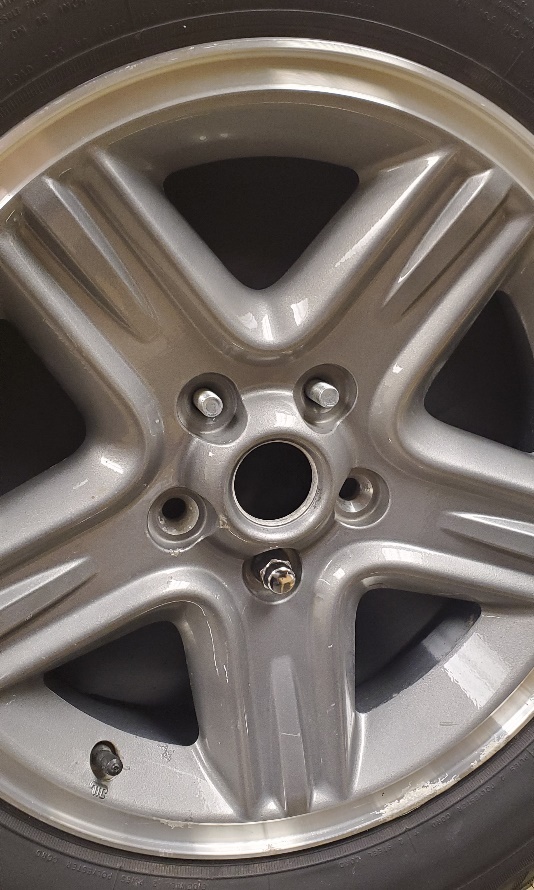
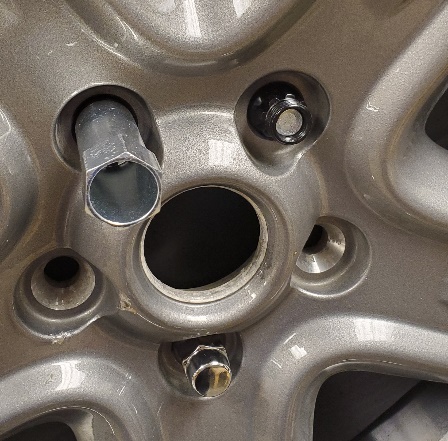
Step 2 – install spline
lug nuts:
Remove
the top 2 lug nuts from your wheel and replace with the special
spline lug nuts provided.
Tighten lug nuts. *Follow
vehicle wheel torque specification, typically spare wheel differs
from driving wheels.
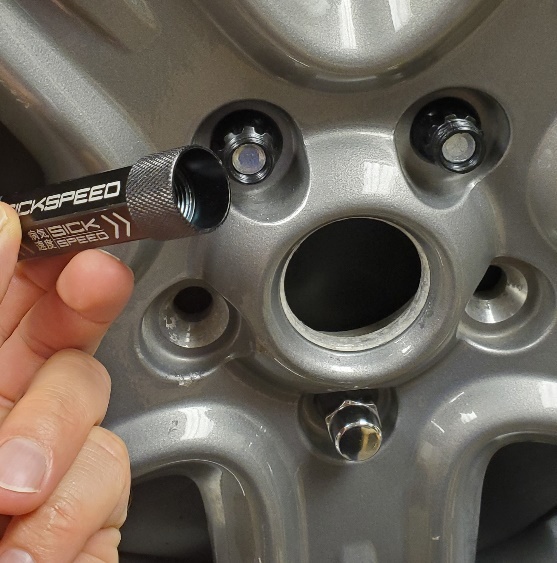
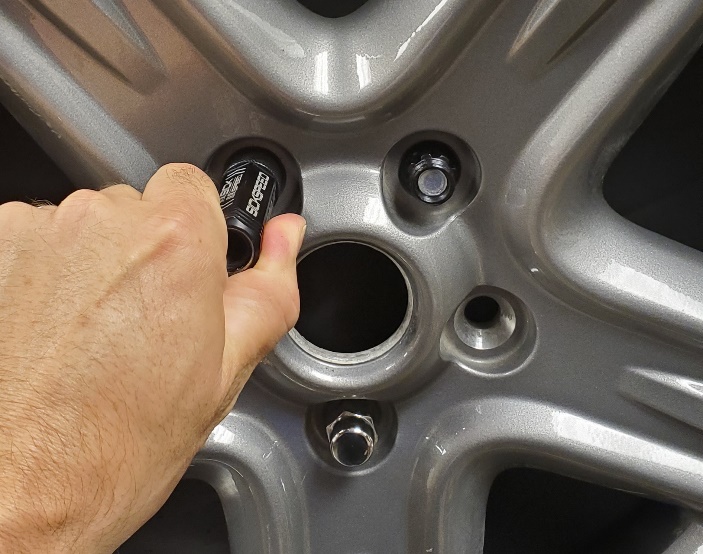
Step
3 – install lug nut extensions:
Now
install the lug nut extensions by hand screwing onto the lug nuts. A
snug hand tighten is all that is needed. They will not spin once the
Patriot Plate is mounted.
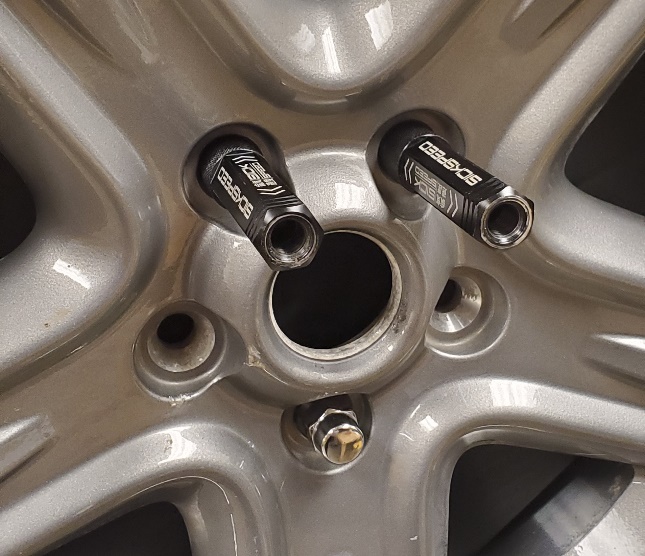
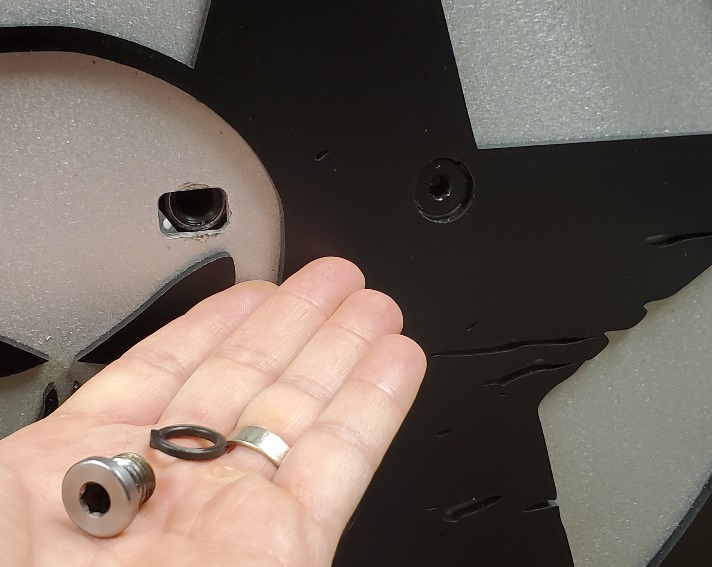
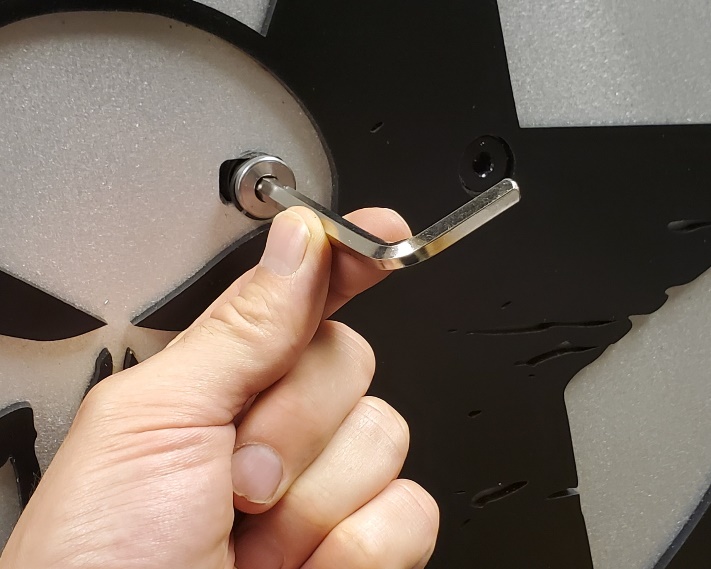
Step
4: - install Patriot Plate!
Line
up the Patriot Plate holes with the lug nut extensions. Install
lock washer
and bolt through the holes and into the lug nut extension. Use the
provided allen wrench to tighten bolt nice and snug.

Thank
you!